You can scan an image and send it to a total of three destinations via SMB or FTP.
|
|
|
|
To scan and send an image to a server, you need to set up network parameters using the control panel or SyncThru™ Web Service. |
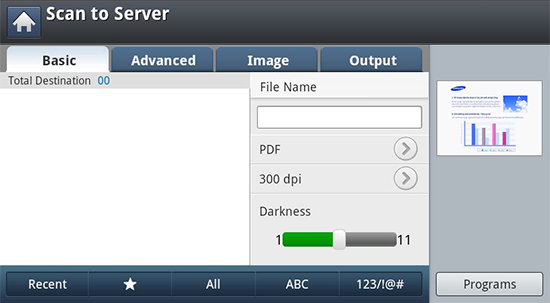
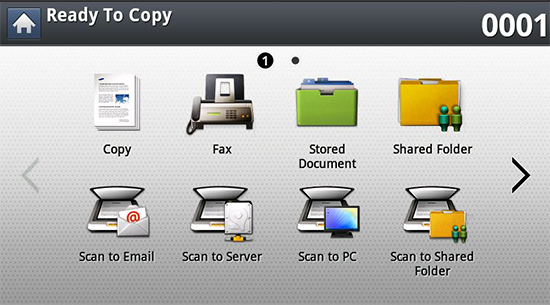
Understanding the screen
Press in the display screen.
tab
-
: Makes the file name for the file to be sent.
-
: Shows the latest email addresses used. Also, you can choose email addresses instead of pressing the pop-up keyboard (see Resending to the last email address).
-
: Selects scanning resolution value.
-
: Adjusts the degree of darkness of scanned output.
-
((
 ), , ): Inputs the recipient's address by pressing stored addresses. You
can save frequently used email addresses using the control panel
or SyncThru™ Web Service (see Setting
up an address book from the control panel or Setting up an address book from SyncThru™ Web Service).
), , ): Inputs the recipient's address by pressing stored addresses. You
can save frequently used email addresses using the control panel
or SyncThru™ Web Service (see Setting
up an address book from the control panel or Setting up an address book from SyncThru™ Web Service). -
: Allows you to save the current settings for future use (see Using a programs setting).
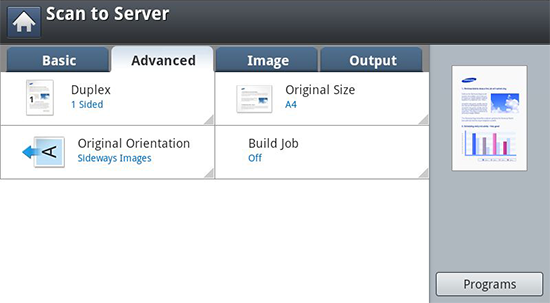
tab
-
: Selects the size of originals.
-
: Selects the orientation of the originals.
-
: For originals that are scaned on both sides.
-
: After the scanning is finished, the window appears to ask if you want to scan another page. If you select , then you can scan another page in the current job. If you select , then the scanning process is completed and the remainder of the job is performed.
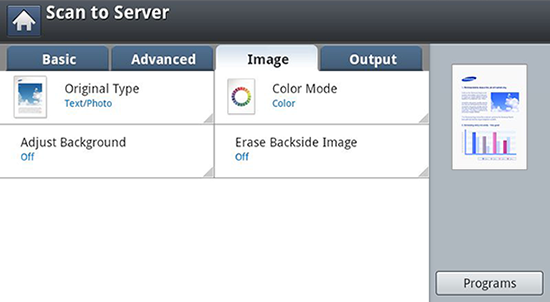
tab
You can move to the next or previous page using the up/down arrows located at the bottom left.
-
: Selects whether the original is text, photo, etc..
-
: Adjusts the color options of scanned output.
-
: Erase the background to some extent by adjusting density or brightness.
-
: Prevents scanning the other side’s image shown through the original paper.
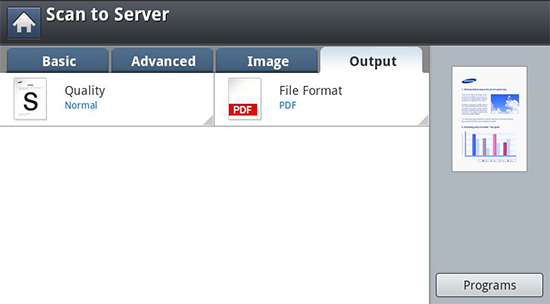
tab
-
: Adjusts the display quality of the scanned output.
-
: Selects the file format of the scanned output.
Scanning and sending to an SMB/FTP server
|
|
|
|
You can select up to three destinations using SMB, or FTP servers. |
-
Place the originals face up in the DSDF or place a single original face down on the scanner glass and close the DSDF (see Loading originals).
-
Press from the display screen
-
Set the scan features in the , , or tabs (see Changing the scan feature settings).
-
Press the tab.
-
Press the server name input area, you can enter a recipient’s server address manually. You cannot enter an address in the second field before entering an address in the first field.
You can also use to enter the addresses easily (see Setting up an Address Book).
-
Set the scan quality by and .
-
Press
 () on the control
panel.
() on the control
panel.The machine begins scanning and then sends the scanned image to the specified server.
If an original is placed on the scanner glass, the machine shows the window asking if you want to place another page. Load another original and press . When you finish, press on this window.
|
|
|
|
Resending to the last server address
To resend a file to the server address last sent to:
-
Place the originals face up in the DSDF or place a single original face down on the scanner glass and close the DSDF (see Loading originals).
-
Press from the display screen.
-
Set the scan features in the , , or tabs.
-
Press the tab.
-
Press .
-
Press the server address to which you want to resend. Then press .
![[Note]](../../common/icon_note.png)
-
Add to Address: Allows you to add a server address in the results to the .
-
Delete: Allows you to delete a server address in the results. Press the server address you want to delete. Then press .
-
-
Set the scan quality by and .
-
Press the
() button to scan
and send the file.If an original is placed on the scanner glass, the machine shows the window asking if you want to place another page. Load another original and press . When you finish, press on this window.