|
|
|
|
From the Start Screen
-
Make sure that the machine is connected to the network and powered on. Also, your machine’s IP address should have been set (see Setting IP address).
-
From , select > > .
-
Click .
Discovered machines will be shown on the screen.
-
Click the model name or host name you wish to use.
![[Note]](../../common/icon_note.png)
-
You can print a Network Configuration Report from the machine’s control panel that will show the current machine’s host name (see Printing a network configuration report).
-
If you want to install Samsung’s printer management tools, you need to install them using the supplied software CD (see From the Screen).
-
You can download Samsung Printer Experience app from the . You need have a Microsoft account to use the Windows .
-
From , select .
-
Click .
-
Search and click .
-
Click .
-
-
-
The driver is automatically installed from the .
From the Desktop Screen
|
|
|
|
If you install the driver using the supplied software CD, you cannot use the installed driver from the screen. |
-
Make sure that the machine is connected to the network and powered on. Also, your machine’s IP address should have been set (see Setting IP address).
-
Insert the supplied software CD into your CD-ROM drive.
If the installation window does not appear, from , select > and search for . Type in X:\Setup.exe, replacing “X” with the letter that represents your CD-ROM drive and click .
If “.” pop-up window appears, click the window and select .
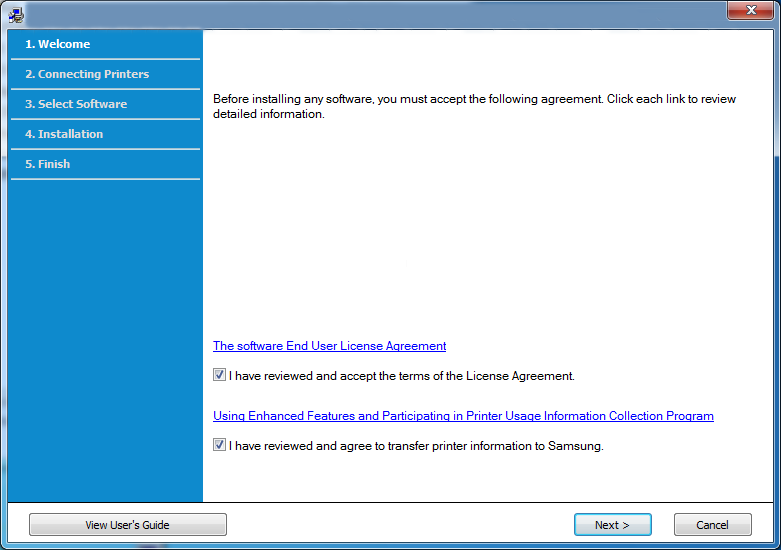
-
Read and accept and (optional). Then, click .
-
Select on the screen.
-
If the window appears, check that the machine is connected to your network. Then, click .
The firewall software might be blocking network communication. Before connecting the device to the network, disable the computer’s firewall.
-
Discovered machines will be shown on the screen. Select the one you wish to use and click .
-
Follow the instructions in the installation window.